Ever wanted to make a ebook with the children in your class?
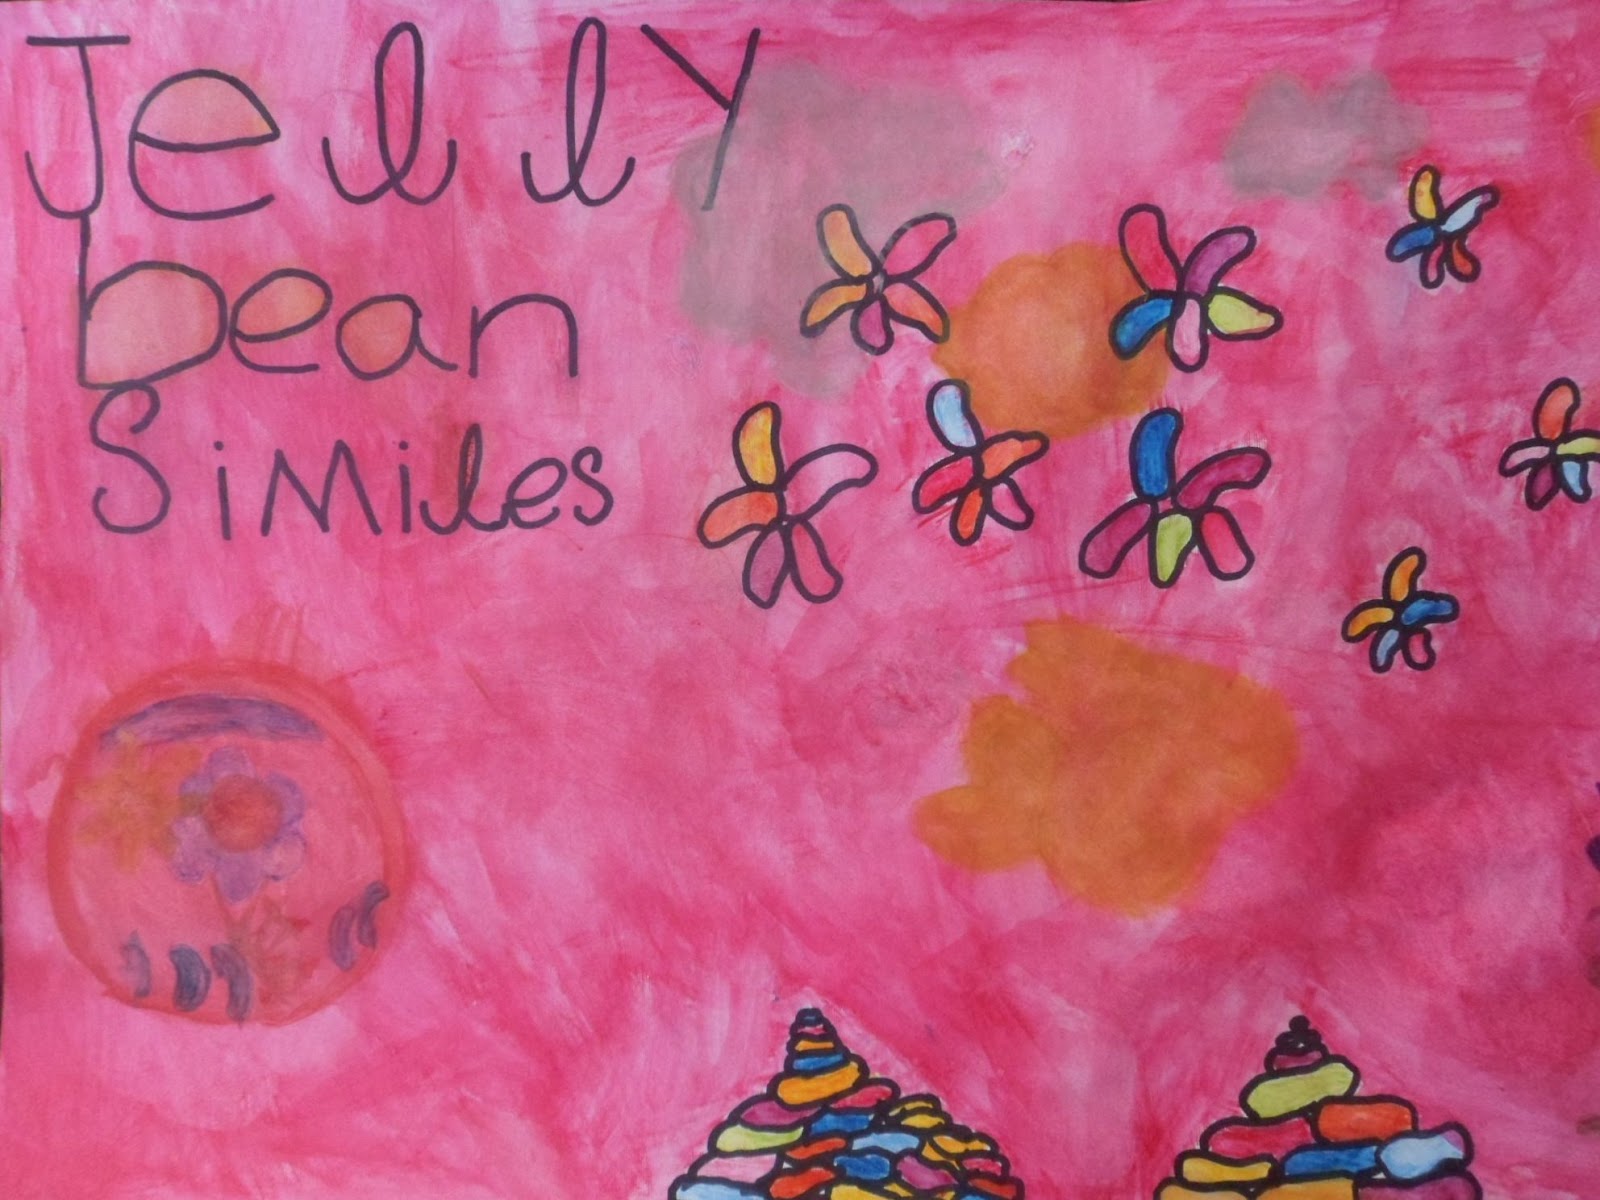
Well, here's the journey I went on. I thought I'd start with some writing the children had already published in class - jellybean similes.
I went hunting on the internet and found a few ways of making ebooks.
ePubBud lets you create an eBook, convert a .doc into an eBook and you can even pay money and buy an ISBN.
Titatok - run by Barnes and Nobel lets you create your ebook and then order your book to print.
I first thought I'd try
Apple's Pages as it lets you create .epub files. I also found a couple of online tutorials detailing the steps.
Click here to view these tutorials
I tried
'Pages,' and discovered it wasn't going to work if I wanted each child to record their voice, reading their jellybean simile. I just couldn't add multiple sound files in
'Pages,' as they jumped all over the page (excuse the pun). I could have just converted a .doc into a pdf, but by doing this I wouldn't be able to have any sound files.
Well, after experimenting with the above I found the answer right under my nose....
Book Creator, an app for the iPad. This app does cost US $4.99 or NZ $6.49.
I had already taken digital photos of each child's work, so I just emailed these to my iCloud account. I then saved them into my Camera roll on my iPad. The interface on
Book Creator is user friendly, so I got a group of children to insert each photo on to each page. I gave them the responsibility of recording their voices. This app has a
'Getting Started,' tutorial which shows you the basics. I think there's lots of fun to be had with
Book Creator.
Once your ebook is finished you can send it straight to iBooks (or Stanza as I also have this installed on the iPad), you can email it, or send your ebook to iTunes (ebook or pdf).
When our class ebook was finished I could have emailed the .epub file to parents. However, I wanted the ebook to be uploaded and to be able to be accessed online. I had a hard time finding anything on the web that could do this.
I found
ePub Bud let you upload an .epub file and by changing the settings you could allow the file to be downloaded. I did this and sent my parents the url address. Once uploaded your ebook can also be read in a web browser, however because I had sound files this wasn't going to work. At the time I didn't know this and emailed the support team to question why this button wasn't working. I got a very quick reply and the technician removed
'view in browser button,' so only the
'download button' was visible. Click here to see our ebook
'Jellybean Similes.'